
CINETECHGEAR / UPDATED GUIDE
What to know about a 3D-printed light
Originally published · Revised
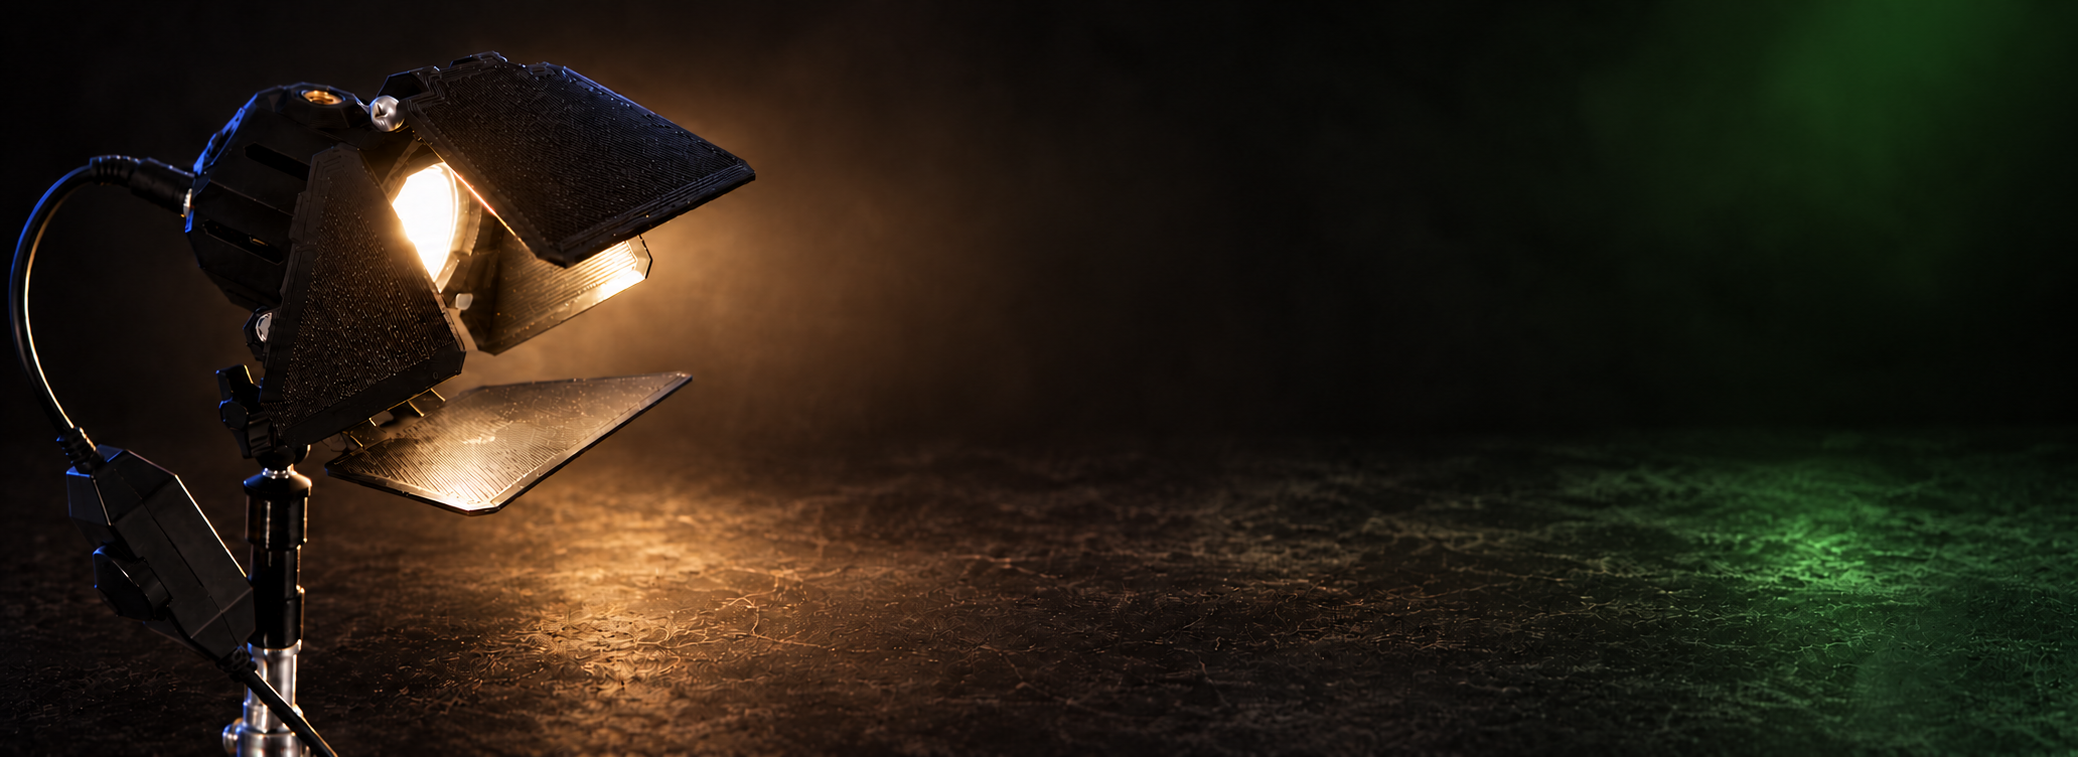
3D printing lets CTG develop a light and its accessories as a connected set of parts. A revised door, mount, or holder can be tested without committing the whole system to a new mold. It also makes small production runs and specialized accessories practical.
The finish is part of the process.
A printed part can show layer lines and a different surface character from an injection-molded part. Surface texture should not be confused with the shape of the design: mounting faces, edges, joints, and clearances still need to do their jobs. Product photographs show the physical construction; studio visualizations are identified separately.
Material and design belong together.
Early MiniCine prototypes informed changes to the body, venting, and mounting structure. Current material, operating limits, and instructions belong with the final product configuration. Older prototype experiences are not a guarantee that a fixture will tolerate any temperature, impact, or storage condition.
Service the piece that needs attention.
Accessible fasteners and separate parts are central to the design. Barn-door joints may need adjustment with use, and a replaceable part can be a better service option than replacing a whole fixture. Confirm the part and instructions for the version you own before making an adjustment.
Keep the light’s airflow and exit clear.
Keep ventilation unobstructed and barn doors open during operation. Disconnect power and let the fixture cool before packing or service. If a part is damaged or distorted, stop using the affected assembly and arrange the appropriate replacement rather than relying on an improvised heat repair.